I’ve been busy during the evenings varnishing the furniture on the boat. Most of the work is done, but I’ve still got to give the hull one final sanding and then varnish it. Between waiting for freshly-varnished parts to dry, I started working on the blocks. A block is the sailor’s name for a pulley. Tall ships have dozens upon dozens of blocks, of many sizes and shapes, designed to hual heavy loads. Tammie Norrie only has a few blocks, and they carry relatively light loads, so I prefer to make them rather than buy them.
Blocks serve one of two purposes; they either change the direction of a force, or several blocks together can act as a force multiplier. In the first example, I’ll have a line to raise my centerboard. Raising the board means pulling the line forward, which is fine except that I’ll normally be sitting aft of the centerboard. So I’ll mount a block ahead of the centerboard, and run the line back to where I’m sitting. The amount of force I’ll need to raise the board will be the same, but I can apply it from a different (more convenient) location.
In the second example, the luff (leading edge) of my sail likes to be under a lot of tension, which is acheived by hauling the boom down. To apply this force, I will have a couple of blocks arranged to provide a 3:1 purchase (force multiplier). In other words, if I apply a force of 50 lbs on the end of the line, this will result in a force of 150 lbs applied to the boom. However, everything comes at a price, and in a purchase, the price is line length. With this same 3:1 purchase, if I need to lower the boom by a foot, I’ll need to haul three feet of line.
Rope-stropped blocks have three main components: the sheave, which is the grooved wheel inside the block, the wooden shell, which encases the sheave, and the strop, a grommet made of rope which surrounds the shell and provides a way to hang the block. For these blocks I chose to purchase some bronze sheaves from Duckworks (www.duckworksbbs.com). I ordered the sheaves online, and in a few days they were in my mailbox.
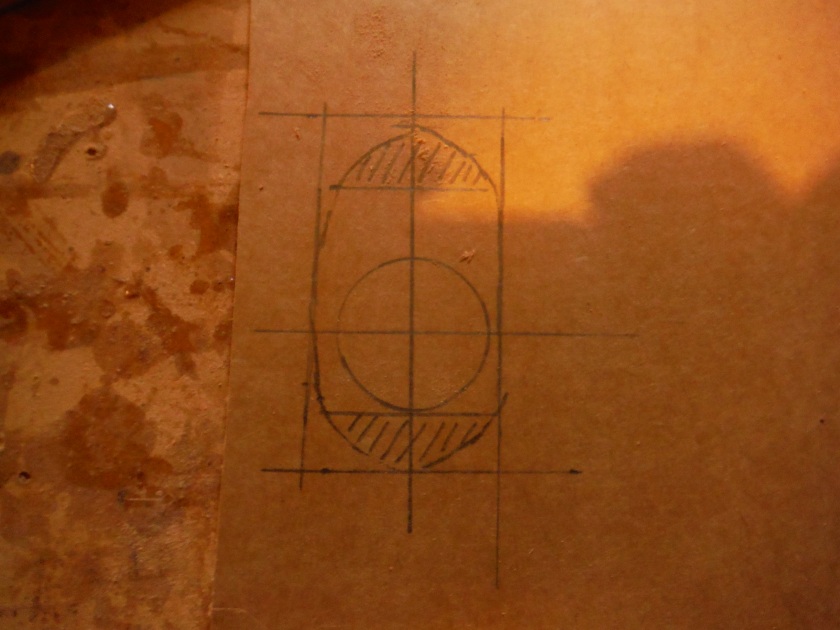
First step is to make a pattern for the shells. The shell consists of two sides and two spacers. The sides should be just wide enough to clear the sheave; leave some space above the sheave for the line to run.

I made the shells from cherry. The inside of the shell will be difficult to varnish, so before gluing the pieces together I coated the inside surfaces with neat epoxy. When the glue dries, drill the pin holes using a drill press.

Mark the shape of the shells with your pattern, then knock off the corners with a back saw. Use the cheese grater (Stanley Sur-form rasp) to round over the edges to the shape of your pattern, followed by 60 grit sandpaper.

I like a lot of bury for the pin, but taper the sides away from the pin to reduce a little weight and give a nicer look. The tapers are marked on the sides, then rough-shaped with the cheese grater and more 60 grit.

Grooves are cut into the shells with a round file; these grooves will hold the strop. The shells are given a final sanding, and then stained to match the transom. Next comes six coats of varnish.

To make the grommets, I’m following the directions in The Riggers Apprentice, by Brion Toss. The material I’m using to make the grommet is hempex, which is a polypro that looks and feels like hemp rope but is stronger and not subject to rot. Cut one piece of line the circumference of the grommet, and another piece four times the length of the circumference. From the long piece, gently unlay one strand. This one strand will become the grommet. Save the other two remaining strands, they will be used for grommets on other blocks.

The three-strand piece will be used as a “mold” for the grommet. Middle the long strand, and lay it along the mold. Starting at one end of the mold, remove one strand from the mold and replace it with the long strand. It works best if you remove and replace a bit at a time, rather than unlay the entire strand and then work in the new. You may need to twist the long strand occasionally so that it keeps it’s lay and stays in the space provided by the strand being removed. I found it convenient to tape the end from where I started.

Join the ends of the mold. Start unlaying one of the two remaining strands from the mold, and replace it with one of the ends of the grommet. When done, do the same with the remaining end.

Use a long splice to finish the ends, and then trim the ends.

On my blocks, I like to apply a serving (wrapping) to the portion of the grommet that will be shackled; the serving adds resistance to chafe. For serving I use black nylon seine twine. Serving is always applied against the lay of the rope. On the left side of the grommet, you can see the strands are twisting down and to the right. So the serving starts at the left end of the grommet, and is wrapped up and to the right.

Finally, the strop is attached to the shell with a round seizing. Directions for making a round seizing are in several books; I like Arts of the Sailor by Hervey Garrett Smith. The first layer of wraps on the seizing need to be tight, so my little wannabe marlinspike is very helpful here. Finish the seizing with a flat knot; the hollow fid shown to the left of the block will be useful for that. The flat knot is shown in Ashley’s Book of Knots, #3385.

One block done, only five more to go.

Super,,,,,, where did you find the brass sheaves ? or maybe bronze ?
LikeLike
Howdy, Bill. The sheaves are bronze. Got them from Chuck and company at Duckworks. Really pleased with their service. -Al
LikeLike